


How Much Does It Cost to Retile a Bathroom?

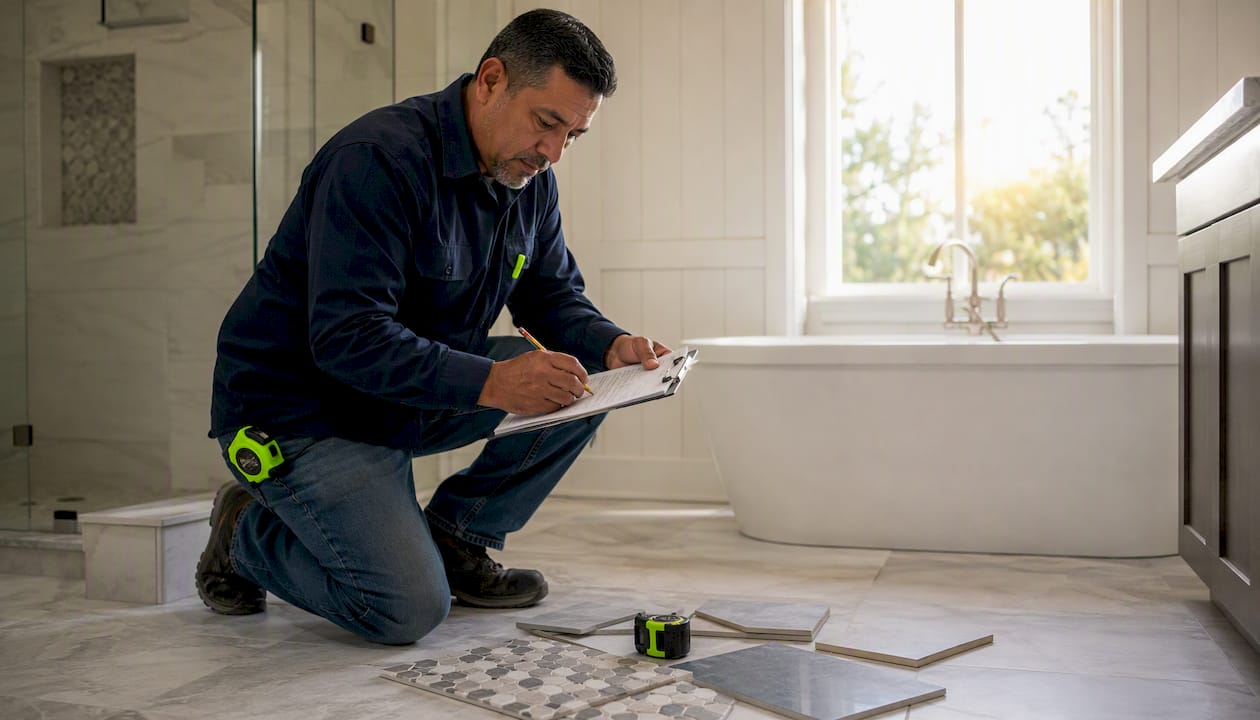
Retiling a bathroom in the United States costs between $450 and $8,000, with most homeowners landing near the national average cost for a standard-sized space with mid-range materials. The installed price per square foot runs $10–$50, covering both tile and labor. Materials and labor costs vary and are significant components of the total price on top of that.
Three common project types give a quick sense of scale:
Small powder room (25–35 sq ft): $600–$1,700 for basic ceramic or porcelain
Standard full bathroom (50–80 sq ft): $1,500–$4,500 covering floor and walls
Master bathroom with shower (100–150+ sq ft): $1,900–$8,500 depending on tile choice and scope
Pro Tip: Always add a 15–20% contingency to your initial estimate. Substrate damage, waterproofing gaps, and plumbing adjustments are the most common reasons bathroom retile budgets run over, and they rarely show up until demolition begins.
Table of Contents
What does the cost to retile a bathroom actually include?
Understanding where your money goes is the fastest way to evaluate a contractor’s quote and spot missing line items. A complete retile project involves far more than tile and labor.
Line Item | Typical Range | Pricing Model |
Tile materials | $2–$30+ per sq ft | Per sq ft |
Mortar / thinset | — | Per sq ft |
Grout and sealant | — | Per sq ft |
Tile installation labor | $4–$20 per sq ft | Per sq ft |
Demolition and disposal | $200–$2,000 | Flat or per sq ft |
Surface prep and waterproofing | $300–$3,000 | Flat or per sq ft |
Cement board / substrate repair | $2.20–$4.75 per sq ft | Per sq ft |
Plumbing adjustments | $150–$600+ | Flat fee |
Permit fees | $50–$500+ | Flat fee |
Trim, edge strips, accessories | $50–$300 | Flat fee |
Demo and disposal alone can range from $200 to $2,000 depending on how much tile needs to come out and whether the debris requires special handling. Waterproofing and surface prep commonly run $300–$3,000 and, in many projects, end up costing more than the tile itself.
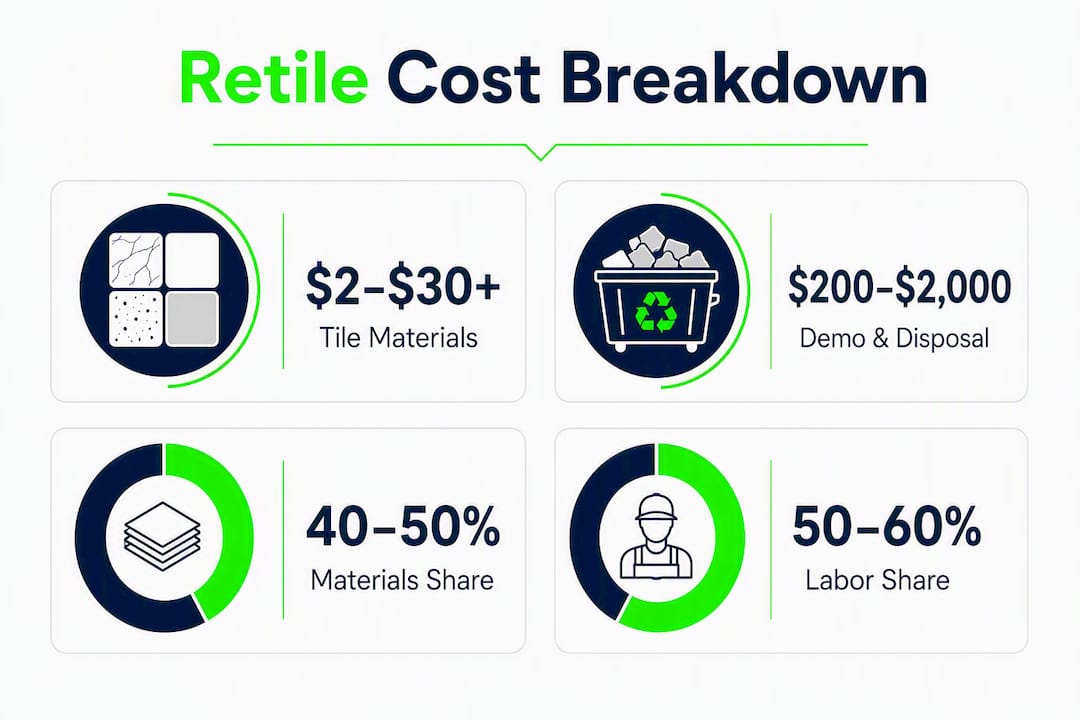
The typical materials-to-labor split on a mid-range project runs roughly 40–50% materials and 50–60% labor. That ratio shifts toward materials when you choose premium stone or large-format tile, and it shifts toward labor when the substrate needs significant repair or the layout is complex. Permits are often quoted as a flat fee and vary by municipality, so always ask your contractor who pulls the permit and who pays for it.
How does tile type affect your total bathroom retiling cost?
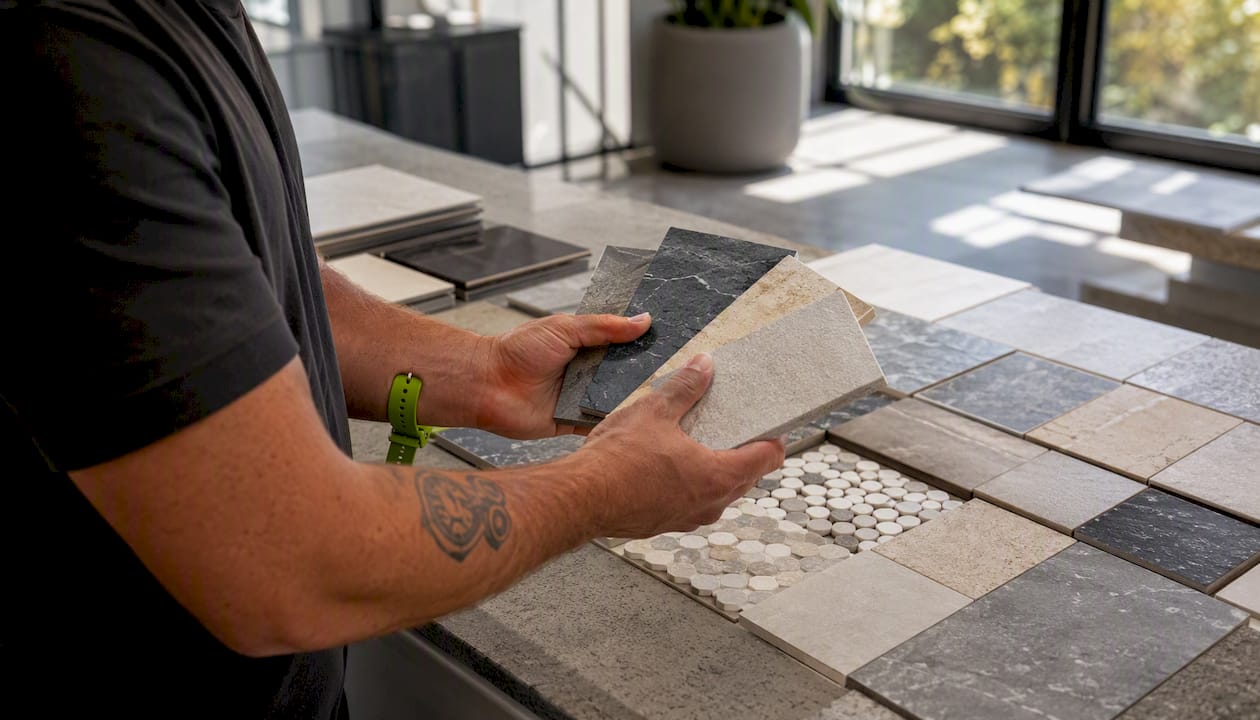
Tile choice is the single biggest lever on your materials budget, and it also affects labor because different materials require different tools, techniques, and cure times.
Ceramic tile: $8–$15 per sq ft installed. The most budget-friendly option, well-suited for walls and lower-traffic floors. Easier to cut and set, which keeps labor costs down.
Porcelain tile: $12–$25 per sq ft installed. Denser and more water-resistant than ceramic, making it the practical choice for shower floors and high-moisture areas. Slightly harder to cut, which can add modest labor time.
Large-format tile (24×24 and above): Typically $15–$30+ per sq ft installed. Fewer grout lines give a cleaner look, but large slabs require a flatter substrate and more precise leveling, which adds prep time.
Mosaic tile: $20–$50+ per sq ft installed. Small individual pieces, whether glass, ceramic, or stone, take significantly longer to place and align. Labor costs rise sharply with mosaic work.
Glass tile: Can reach $100 per sq ft installed for small glass mosaics. The material itself is expensive, and installation demands careful handling to avoid cracking and precise back-buttering for adhesion.
Natural stone (marble, travertine, slate): $18–$65 per sq ft installed. Stone requires sealing before and after installation, specialized wet-saw blades, and careful pattern matching on veined materials like marble. All of that adds to both labor time and material cost.
Pattern choice compounds these numbers. A straight-lay grid is the least expensive layout. Herringbone, diagonal, and custom mosaic patterns add 10–30% to installation cost because they require more precise cuts, generate more waste, and demand more installer skill. If you are working with a tight budget, choosing a standard-format ceramic or porcelain tile in a straight layout is the most reliable way to control costs without sacrificing durability.
Pro Tip: When comparing tile prices at the store, always calculate the installed cost, not just the material price. A $4-per-square-foot ceramic tile that installs easily often beats a $10 stone tile that requires a specialty installer, sealing, and extra substrate prep.
How is labor priced, and why do quotes vary so much?
Labor is typically the largest single expense in a retile project, and it is also the line item that varies most from one contractor to the next. Understanding how installers price their work helps you compare bids on equal footing.
Common pricing models:
Per square foot installed: The most common model, ranging from $4–$20 per sq ft depending on tile type and layout complexity. Simple ceramic floors on a solid substrate land near the low end; shower walls with natural stone or intricate patterns push toward the high end.
Hourly rate: Less common for tile work but used by some independent installers. Rates typically run $50–$120 per hour depending on the market and the installer’s experience level.
Flat minimum fee: Many contractors set a minimum of $500–$750 for small jobs to cover mobilization, setup, and cleanup costs that occur regardless of square footage. A 20-square-foot powder room floor may carry a higher effective per-square-foot rate than a 100-square-foot bathroom for exactly this reason.
Regional market conditions move these numbers significantly. Labor in New York City, San Francisco, or Boston typically runs 30–50% higher than in mid-size Midwestern or Southern markets, where installer availability is greater and overhead costs are lower. For New Jersey and the greater New York metro area, budgeting toward the upper end of national labor ranges is a reasonable starting point.
Several factors add labor time beyond raw square footage:
Shower walls and niches require vertical layout work, waterproofing, and more precise cutting
Small or irregular tiles (hexagons, penny rounds, mosaics) take longer to place per square foot than large-format tiles
Herringbone and diagonal patterns generate more cuts and waste
Subfloor or cement board repairs extend the prep phase before a single tile goes down
Removing old tile from floors costs more per square foot than wall removal because the labor is more physically intensive
When reviewing a written estimate, the labor line should specify the pricing model, the scope (floor only, walls, shower, or all surfaces), and whether substrate prep is included or quoted separately. A vague “installation labor: $X” with no scope description is a red flag worth clarifying before you sign anything.
What hidden costs catch homeowners off guard?
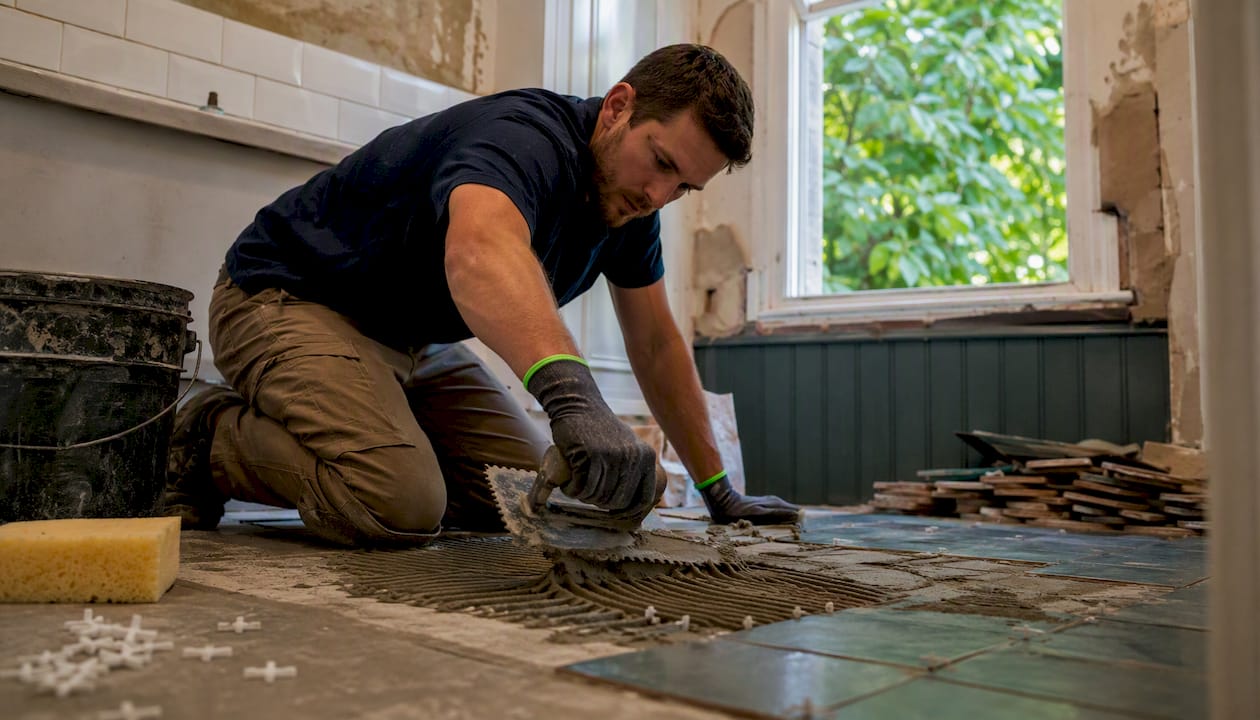
The tile and labor lines on a quote are visible. The costs below are the ones that tend to appear mid-project, after demolition reveals what was underneath.
Demolition and debris removal: $200–$2,000 depending on the amount of tile, the thickness of the mortar bed, and local disposal fees. Floors typically cost more to strip than walls.
Substrate repair (cement board, backer board): $2.20–$4.75 per sq ft. Water-damaged or deteriorated cement board must be replaced before new tile goes down. Skipping this step causes tile to crack and grout to fail within months.
Waterproofing membrane: $2–$9 per sq ft installed. Required in showers and wet areas; strongly recommended anywhere tile meets a moisture source. This is not optional in a shower, and many local building codes require it.
Plumbing adjustments: $150–$600+ for minor fixture removal and reinstallation (toilet, vanity, shower valve). More complex rerouting costs more and may require a licensed plumber.
Permit fees: $50–$500+ depending on the municipality and scope of work. Some jurisdictions require permits for tile work that involves waterproofing or structural changes.
New shower pan: $900–$3,500 if the existing pan is cracked or failing. This is a separate cost from waterproofing membrane and often surfaces only after the old tile is removed.
Waterproofing and substrate repair are the two items most likely to cause mid-project cost overruns when they are not included in the original estimate. The reason is straightforward: no one knows the true condition of the substrate until the old tile comes off.
Skipping waterproofing in a shower to save $300–$600 upfront is one of the most expensive decisions a homeowner can make. Moisture that penetrates behind tile leads to mold growth, structural rot, and a complete tear-out and reinstallation that costs several times the original project budget. A proper waterproofing membrane is insurance against that outcome.
For a deeper look at how plumbing intersects with retile projects, bathroom remodeling plumbing guidance covers what to expect when fixtures need to be moved or temporarily disconnected.
How much does retiling cost by bathroom size?
The table below shows four common project scenarios with sample line-item breakdowns. These figures use mid-range ceramic or porcelain tile and standard labor rates.
Scenario | Sq Ft | Materials | Labor | Demo & Prep | Total Estimate |
Small powder room (floor only) | 25–35 | $180–$420 | $140–$700 | $200–$400 | $500–$1,000 |
Standard full bath (floor + walls) | 50–80 | $240–$960 | $200–$1,600 | $400–$800 | $1,000–$2,000 |
Master bath with shower (full tile) | 100–150 | $500–$1,500 | $400–$3,000 | $600–$1,500 | $1,875 or more |
Shower-only retile | 60–100 | $120–$900 | $240–$2,000 | $400–$1,000 | $1,000–$1,875 |
Sample job breakdown: Standard full bathroom (70 sq ft, porcelain tile, straight layout)
Tile materials (porcelain, 70 sq ft + 10% waste): $1,050
Mortar and grout: $120
Labor (installation, 70 sq ft at $12/sq ft): $840
Demolition and disposal: $450
Waterproofing membrane (wet areas): $350
Permit: $150
Total: approximately $2,960
A few scaling notes worth keeping in mind. Adding full-wall tile to a bathroom that was previously floor-only can double the square footage being tiled and push labor costs up because vertical work takes longer than floor installation. Tiling a shower niche adds a flat cost depending on size and tile type, since the cuts are precise and the waterproofing detail is critical. National cost snapshots show that a 40-square-foot job runs around $500, an 80-square-foot job around $1,000, and a 150-square-foot project $1,875 or more, which illustrates the effect of scale on pricing.
How long does a bathroom retile project take?
A straightforward bathroom retile typically runs 3–7 days from the first day of demolition to the final fixture reinstallation. The sequencing matters as much as the total time, because rushing any stage creates problems that cost more to fix than the time saved.
Typical project sequence:
Day 1: Demolition and debris removal. Old tile comes out, substrate is inspected, and any damaged cement board or subfloor sections are identified. This is when hidden costs become visible.
Days 1–2: Substrate repair and waterproofing. Cement board replacement, membrane installation, and any plumbing adjustments happen before a single new tile goes down. Waterproofing membranes typically require 24 hours to cure before tiling begins.
Days 2–4: Tile installation. Floor tile generally goes first, then walls. Complex patterns or large-format tiles take longer because leveling and layout require more precision.
Day 4–5: Grouting. Grout is applied after the thinset has cured, typically 24–48 hours after tile installation. Epoxy grout, which is more stain-resistant, takes longer to apply and requires more careful cleanup.
Day 5–7: Cure time and fixture reinstallation. Grout needs 24–72 hours to cure before the space gets wet. Fixtures are reinstalled after grout is set. Silicone caulk at corners and transitions needs a full 24 hours before water exposure.
Bundling waterproofing with tile installation under a single contractor reduces mobilization costs and eliminates scheduling gaps between trades. If you hire a separate plumber to reinstall fixtures, coordinate that appointment for the final day so you are not paying a plumber to wait while grout cures.
Pro Tip: Scheduling a retile project in late fall or winter often means shorter contractor lead times and, in some markets, slightly more competitive pricing. Peak renovation season runs spring through early fall, when crews are in highest demand.
How do you get an accurate quote for a retile project?
The quality of the quotes you receive depends directly on the information you provide upfront. Contractors who are working from vague descriptions give vague estimates. Arriving prepared gets you comparable, written bids you can actually evaluate.
What to provide to every contractor:
Exact measurements of the space (floor square footage, wall height and linear footage, shower dimensions)
Photos of the current tile, substrate condition, and any visible damage or moisture staining
The tile you have selected or are considering, including format, material, and pattern
Any known substrate issues (soft spots, previous water damage, old mortar bed)
Access conditions (tight hallway, second floor, no elevator in a multi-unit building)
Your preferred timeline and whether the bathroom is the only one in the home
Questions to ask every contractor:
Does your quote include waterproofing, and what method or membrane do you use?
Is substrate inspection and repair included, or quoted separately after demo?
Who pulls the permit, and is the permit fee included in this number?
What is your warranty on installation workmanship?
How do you handle debris disposal, and is that included?
What is your projected timeline, and how many crew members will be on site?
Can you provide references from recent bathroom tile projects?
A written, itemized quote is not optional. Any contractor who provides only a verbal estimate or a single lump-sum number without line items is giving you a number you cannot verify, compare, or hold them to. Insist on a written scope of work that lists materials, labor, demo, waterproofing, and any exclusions before you sign a contract.
Red flags to watch for:
Waterproofing not mentioned or listed as optional
No line item for demolition or disposal
Vague scope language (“tile bathroom as discussed”)
No mention of permit responsibility
A quote significantly below all others with no explanation of what is excluded
Always verify that your contractor holds a current license and carries general liability insurance and workers’ compensation coverage. Ask for the license number and confirm it with your state’s contractor licensing board. Checking references from two or three recent tile projects takes 15 minutes and can prevent a costly mistake. For a broader look at renovation budget planning, having a clear scope before you request quotes is the single most effective way to get bids that are actually comparable.
Should you DIY a bathroom retile or hire a licensed contractor?
The honest answer depends on the scope, the surfaces involved, and your tolerance for risk. Some retile tasks are genuinely within reach for a careful DIYer. Others carry enough technical and financial risk that professional installation is the smarter call.
Realistic DIY tasks:
Replacing a few cracked floor tiles in a low-moisture area
Refreshing grout on an existing, structurally sound installation
Installing a simple backsplash in a dry area with no waterproofing requirement
Tasks that warrant a licensed professional:
Any shower or wet-area retile requiring waterproofing membrane installation
Full bathroom floor and wall retile with substrate repair
Large-format tile installation requiring precise leveling
Any project involving plumbing fixture removal and reinstallation
Layouts with complex patterns, niches, or custom cuts
DIY tile installation costs $3–$15 per square foot in materials, tools, and supplies, compared to $10–$50 per square foot installed by a professional. That gap looks significant on paper. The risk is that a waterproofing failure, a cracked substrate, or a poorly set tile in a shower can result in mold remediation, structural repair, and a complete reinstallation, which costs several times the original project total.
Pro Tip: If you are considering DIY to save money, start with a small, low-stakes area like a laundry room floor or a dry-area backsplash before attempting a shower or full bathroom. The skills transfer, but the consequences of a mistake in a wet area are far more expensive.
A licensed contractor also carries liability insurance, which means that if a waterproofing failure causes water damage to a neighboring unit or a lower floor, you are not personally absorbing that cost. For property managers in particular, that coverage is not a luxury. Grout sealing is another area where professional application and the right product matter more than most homeowners expect; a guide to grout sealing explains why the choice of sealer and application method directly affects how long the installation holds up.
What contractors know about pricing that most homeowners don’t
Design choices and substrate condition consistently have a larger impact on final cost than raw square footage. A 60-square-foot bathroom with a damaged mortar bed, a herringbone pattern, and natural stone tile will cost more than a 100-square-foot bathroom with a solid substrate, standard porcelain, and a straight layout. Square footage is a starting point, not a final number.
The tile is rarely where the money goes. Substrate prep, waterproofing, and the time required to do the layout correctly are what separate a $2,000 job from a $5,000 job in the same size bathroom. Homeowners who focus only on tile price per square foot often end up surprised by the final invoice.
A few contractor pricing behaviors worth knowing:
Minimums for small jobs: Most professional tile installers set a flat minimum of $500–$750 regardless of square footage. A 15-square-foot powder room floor will not cost $150 in labor just because the math suggests it should.
Markup on specialty materials: Contractors who supply tile and materials typically mark them up 15–30% over retail. Supplying your own tile can reduce this cost, but confirm with your contractor first, since some charge a handling fee for owner-supplied materials.
Travel and mobilization fees: In metro markets, contractors may charge a mobilization fee for projects that require multiple trips, especially if the job is phased across several days.
Shower installations carry a premium: Installing tile in a shower requires more precise waterproofing, vertical layout work, and niche fabrication. Labor rates for shower work are consistently higher than for floors.
Pro Tip: Request at least three itemized bids from licensed contractors. Compare line by line, not total to total. A bid that is $400 lower than the others may simply be missing the waterproofing or disposal line, not actually cheaper.
To verify pricing fairness, ask each contractor to walk you through their estimate line by line. A contractor who cannot explain what each line covers is one who may not have priced the job accurately. Confirm licensing through your state’s contractor licensing board and ask for proof of insurance before any work begins.
Key Takeaways
Retiling a bathroom has a broad national cost range, with many projects falling near average estimates when materials, labor, demo, and basic prep are included.
Point | Details |
National cost range | Most bathroom retile projects cost $450–$8,000; the typical average is around $2,000. |
Per-square-foot installed | Expect $10–$50 per sq ft installed, covering tile, mortar, grout, and labor. |
Hidden costs matter most | Demo ($200–$2,000) and waterproofing/prep ($300–$3,000) are the top causes of budget overruns. |
Tile type drives the budget | Ceramic runs $8–$15/sq ft installed; national snapshots show project totals: $500 for a small job, $1,000 for medium, $1,875 or more for large. |
Djcustomcontracting | Djcustomcontracting provides on-site, written estimates for bathroom retile projects, covering waterproofing, substrate repair, and full installation. |
What most retile budgets get wrong
Most homeowners build their retile budget around the tile price and a rough square footage number. That approach almost always produces a number that is too low, and the gap shows up mid-project when the substrate is exposed.
The real cost of a bathroom retile is not the tile. It is the condition of what is behind the tile. A bathroom that has had a slow leak for two years may look fine from the surface. Once the old tile comes off, the cement board is saturated, the subfloor has soft spots, and the waterproofing membrane is nonexistent. That discovery adds $800–$2,500 to a project that was quoted at $2,000. It is not the contractor’s fault. It is the nature of renovation work.
The homeowners and property managers who navigate retile projects most successfully are the ones who budget for what they cannot see. A 15–20% contingency is not pessimism. It is the difference between a project that finishes on budget and one that stalls because the money ran out before the grout went in.
Hiring a licensed contractor with verifiable references and a written, itemized scope of work is the most reliable way to avoid that outcome. The estimate may be higher than a handshake quote from an unlicensed installer, but the written scope, the warranty, and the insurance coverage are what protect you when the unexpected happens.
Djcustomcontracting handles bathroom retile projects from start to finish
Retiling a bathroom involves more moving parts than most homeowners expect, and the difference between a smooth project and a costly one usually comes down to who is managing those parts. Djcustomcontracting has been handling residential and commercial interior renovations since 2018, including full bathroom retile projects that cover demolition, substrate repair, waterproofing, tile installation, and fixture reinstallation under a single contract.

For homeowners and property managers who want a clear number before committing, Djcustomcontracting provides on-site, written estimates that itemize every line, including waterproofing and prep, so there are no surprises mid-project. Working with a licensed, insured contractor means the scope is documented, the work meets local code, and you have recourse if something does not go as planned. That is the practical value of choosing a contractor with a track record over the lowest number on a verbal quote.
To get started, visit the interior renovation services page or reach out directly to schedule an on-site estimate for your bathroom retile project.
Sources and further reading
The figures and guidance in this article draw from the following U.S.-focused sources. Reviewing them directly lets you verify ranges and read deeper on specific cost drivers.
This Older House: How Much Does It Cost to Retile a Bathroom? National cost ranges, per-square-foot breakdowns, and size-based project examples.
This Old House: Cost to Retile a Bathroom Contractor guidance on how design choices and substrate condition affect final cost.
Angi: How Much Does Bathroom Tile Installation Cost? Labor rate ranges, shower installation premiums, and regional variance data.
Current Cost: Cost of Retiling a Bathroom Itemized pricing snapshot including demo, waterproofing, and prep cost ranges.
Home Depot: Cost to Install Tile Retail and installation service pricing context and local cost variance factors.
U.S. Bureau of Labor Statistics: Occupational Employment Statistics Labor market data for tile and marble setters, useful for understanding regional wage variation.
Harvard Joint Center for Housing Studies: Expenditures by Project Type National data on home improvement spending patterns by project category.
For your own project, the most reliable next step is to measure your bathroom, photograph the current tile and any visible damage, and request on-site written quotes from at least three licensed contractors. Build in a 15–20% contingency from the start, and confirm that every quote includes waterproofing and substrate prep as explicit line items.
Recommended


Comments