


How to Restore Water Damaged Homes: 2026 Guide

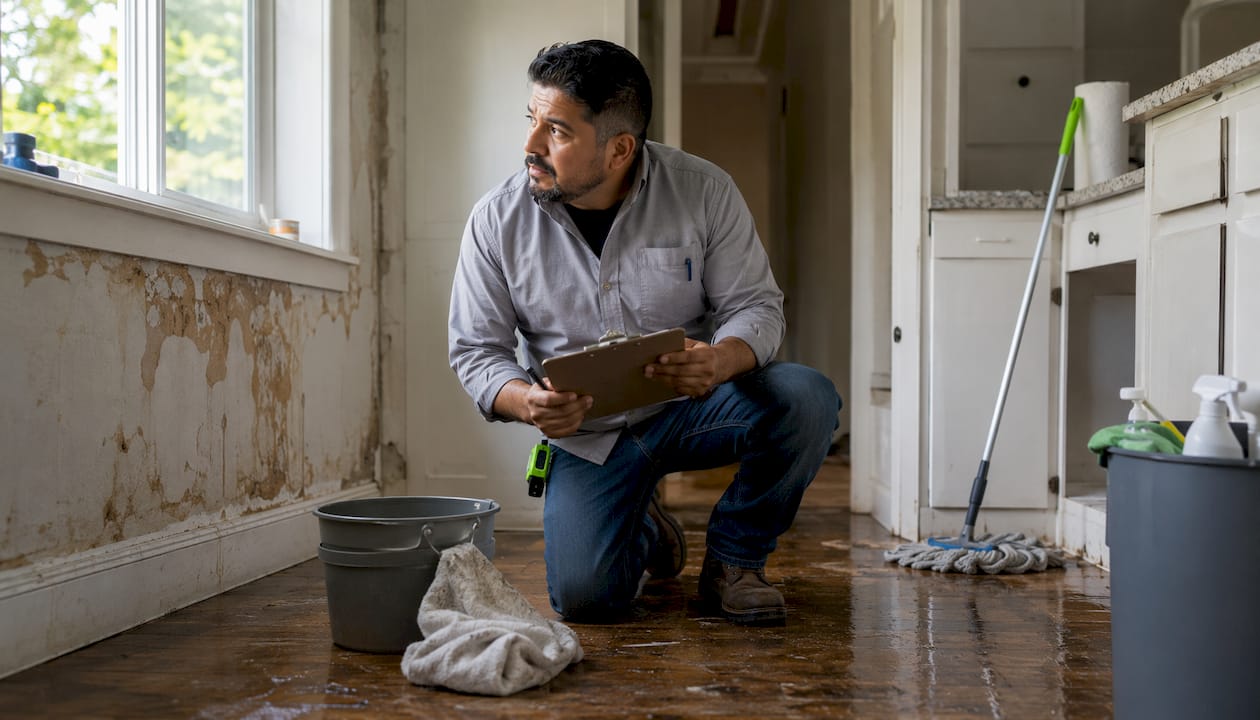
What should you do immediately after discovering water damage?
Restoring a water damaged home starts in the first hour. The actions you take right after discovering water intrusion directly determine how much structural damage, mold growth, and restoration cost you will face later.
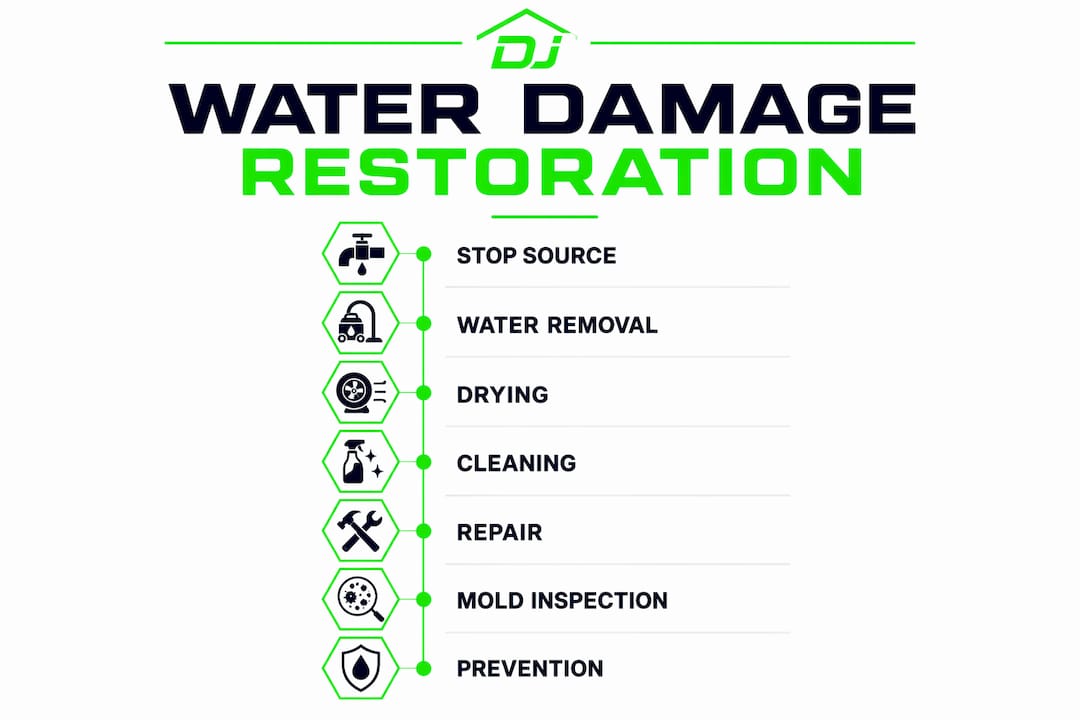
Stop the water source. Close the main shutoff valve or isolate the specific leak. If you cannot identify the source, shut off the main water supply to the entire house.
Turn off electricity in affected areas. Flip the breakers for any rooms with standing water before entering. If the electrical panel itself is in a flooded area, call your utility company rather than approaching it yourself.
Evacuate if the structure is compromised. Cracked foundation walls, shifted floors, or downed power lines outside are all reasons to leave and call professionals before re-entering.
Document everything before touching it. Photograph and video every affected room, wall, floor, and damaged item. This record is required for insurance claims and FEMA disaster assistance applications.
Call your insurance company promptly. Report the damage as soon as you are safe. Most policies require timely notification, and delays can complicate your claim.
Begin removing standing water if it is safe to do so. Use a wet vacuum, mop, or bucket for smaller volumes. Removing standing water promptly prevents it from wicking into walls and causing deeper structural damage.
Contact a professional restoration service early. Water extraction and industrial drying equipment make a measurable difference in outcomes, especially for larger floods.
Pro Tip: Never run your central air conditioning or furnace blower if the HVAC ducts were submerged. Running flooded HVAC systems spreads mold spores and contaminants throughout the entire house.
How do you understand the causes and severity of water damage?
Not all water damage is the same, and the type you are dealing with shapes every decision from protective gear to disposal of materials. The IICRC S500 standard classifies water damage into three categories and four classes, and restoration professionals use this framework to determine drying protocols, containment strategies, and required personal protective equipment.
The three water categories:
Category 1 (clean water): Originates from a sanitary source such as a broken supply line or overflowing sink. Poses the lowest health risk and is the most feasible for careful DIY cleanup on non-porous surfaces.
Category 2 (gray water): Contains contaminants from sources like washing machine overflow or dishwasher leaks. Carries bacteria and chemical residues that require more careful handling.
Category 3 (black water): Sewage backups, floodwater from rivers, and storm surges fall here. Health risks increase significantly with this category, and specialized professional remediation is required.
The four damage classes reflect how much moisture has absorbed into materials and how difficult drying will be:
Class 1: Minimal absorption, affecting only part of a room with low-porosity materials.
Class 2: Significant absorption into carpet, cushions, and structural materials throughout a room.
Class 3: Water has saturated walls, insulation, and ceilings, often from above.
Class 4: Deeply saturated materials like hardwood, concrete, or plaster that require specialty drying techniques.
Common causes include burst pipes, appliance failures, roof leaks, window failures, and flooding from storms. Hidden damage is often the most costly. Warped baseboards, soft drywall, musty odors, and discolored ceilings all signal moisture that has traveled beyond the visible wet zone. Early detection through a professional moisture assessment consistently reduces both restoration complexity and total cost.
How do you dry out a waterlogged house effectively?
Speed is the defining factor in drying a flooded home. Mold can grow rapidly within a short time frame after water intrusion in moist environments, so every hour of delay increases both the biological risk and the scope of material replacement.
Mold growth begins within 24–48 hours of water intrusion. Starting the drying process within the first day is the single most effective way to limit mold colonization and keep restoration costs manageable.
Steps for effective drying:
Remove all standing water first using a submersible pump, wet vacuum, or mop and bucket for smaller volumes. Do not attempt to pump a flooded basement if fuel oil is floating on the surface; call an environmental contractor first.
Pull up wet carpets, rugs, and impervious floor coverings like sheet vinyl immediately. These trap moisture against subfloors and accelerate rot.
Open all windows and doors during the day when outdoor humidity is lower than indoor levels. Open closet doors, cabinet doors, and interior room doors to allow air to circulate through every cavity.
Place fans at open exterior doors and windows to exhaust damp air directly outside rather than recirculating it indoors.
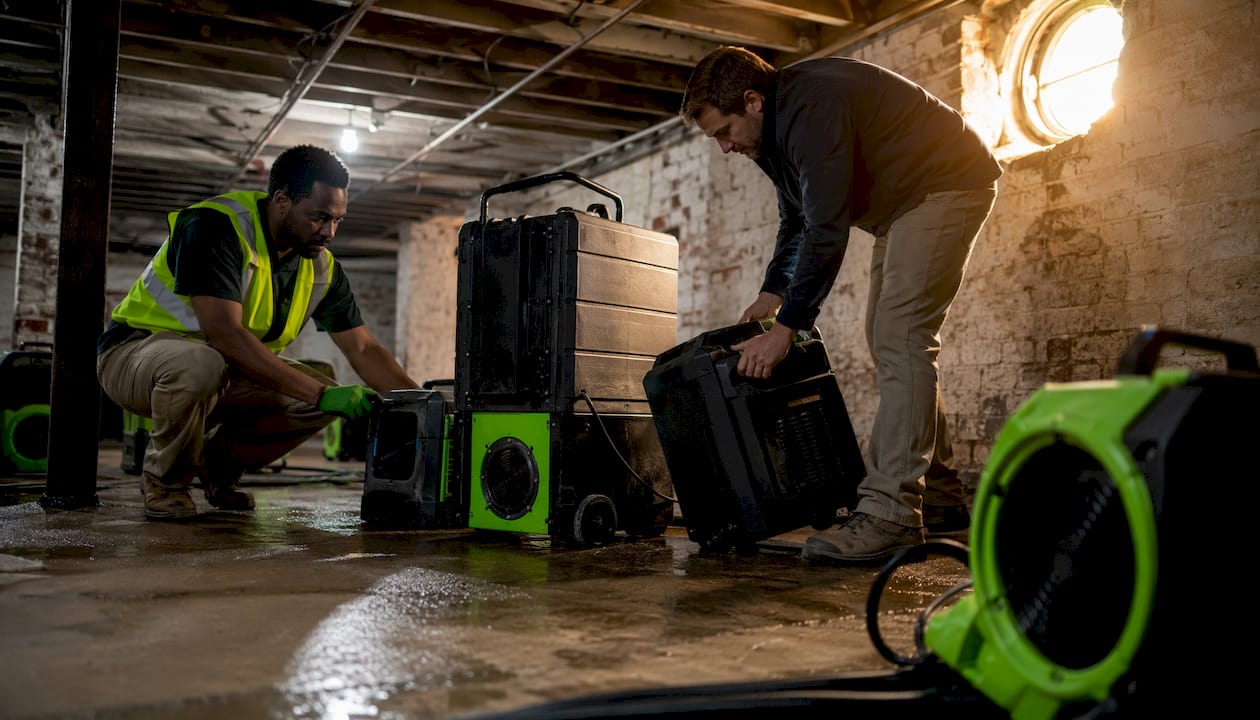
Run dehumidifiers continuously in affected rooms. Professional-grade dehumidifiers remove far more moisture per hour than consumer units, which is why restoration contractors bring them on-site.
Use a moisture meter to track progress in walls, subfloors, and framing. Drying is not complete when surfaces feel dry to the touch; it is complete when moisture readings return to normal baseline levels for the material type.
Remove wet insulation from wall cavities and ceilings. Insulation retains moisture long after surrounding materials appear dry and becomes a persistent mold source if left in place.
Failure to thoroughly dry the area after mitigation is a leading cause of secondary mold growth and premature material failure. after mitigation is the leading cause of secondary mold growth and premature material failure. Waiting even a few extra days can multiply restoration costs and increase health risks, particularly for households with children, elderly residents, or anyone with respiratory conditions.
How do you repair and restore water damaged walls, floors, and structures?
Once drying is verified, the repair phase can begin. Attempting reconstruction before moisture readings confirm complete drying is one of the most common and costly mistakes homeowners make.
Pro Tip: Always verify moisture levels with a calibrated moisture meter before closing up walls or installing new flooring. Premature material installation traps residual moisture and leads to mold recurrence within weeks.
Repair sequence:
Assess structural components first. Check floor joists, wall studs, and the foundation for rot, warping, or mold colonization. Soft or discolored wood, visible mold growth, and a persistent musty odor all indicate material that must be replaced rather than dried in place.
Remove and replace damaged drywall. Cut drywall in clean, rectilinear sections aligned with stud spacing for easier replacement. Wet drywall that has begun to crumble or show mold cannot be salvaged; porous materials with mold present should be discarded rather than cleaned.
Sanitize exposed framing and subfloors. Clean all exposed structural surfaces with soap and water, then disinfect with a solution of one cup of unscented bleach per five gallons of water. Keep windows open during this process and never mix bleach with ammonia or other cleaners.
Replace flooring based on material type. Hardwood floors may be salvageable if dried slowly and carefully; forced-air drying causes warping. Laminate, carpet, and water-damaged particleboard subfloor sections typically require full replacement.
Seal, caulk, and finish. Once new drywall, insulation, and flooring are installed and inspected, apply primer, paint, and finish materials. Use moisture-resistant drywall and waterproof flooring options in bathrooms, basements, and any area prone to future moisture exposure.
For a broader look at the repair-versus-replace decision, the renovation guide for homeowners from Djcustomcontracting covers the full scope of material assessment and reconstruction planning.
What health and safety precautions are required during restoration?
Water damage cleanup carries real health risks that go beyond the physical labor involved. Floodwater and sewage-contaminated water introduce bacteria, viruses, mold spores, and chemical toxins into your home’s surfaces and air.
Category 3 water (sewage and floodwater) requires professional remediation. DIY cleanup of black water contamination without proper protective equipment and containment protocols creates serious infection and respiratory risks.
Safety measures every homeowner should follow:
Wear rubber boots, waterproof gloves, and an N95 mask during all cleanup activities involving floodwater or sewage-contaminated materials.
DIY cleanup is reasonable only for minor Category 1 water damage on non-porous surfaces caught early. Category 2 and Category 3 damage requires professional intervention.
Disinfect all cleaned surfaces using the bleach-to-water ratio described in the repair section above. Never mix bleach with ammonia; the combination releases toxic gas.
Wash hands thoroughly with soap and clean water after every cleanup session, before eating, and after handling any flood-contaminated material.
Have your HVAC system professionally inspected before restarting it after a flood. Contaminated ductwork can distribute mold spores and bacteria throughout the entire home once the system runs.
Ventilate continuously during cleanup. Open windows and run exhaust fans to reduce airborne contaminant concentrations.
Children, elderly residents, and anyone with asthma or a compromised immune system should stay out of the home until professional clearance is given. Mold exposure from improperly remediated water damage is a documented trigger for respiratory illness, and the EPA links indoor mold growth directly to worsened asthma and allergic reactions.
What preventive measures protect your home from future water damage?
The best water damage repair tips include steps you take before water ever enters the home. Many of the most effective flood-proofing measures are low-cost and can be incorporated directly into your current restoration project.
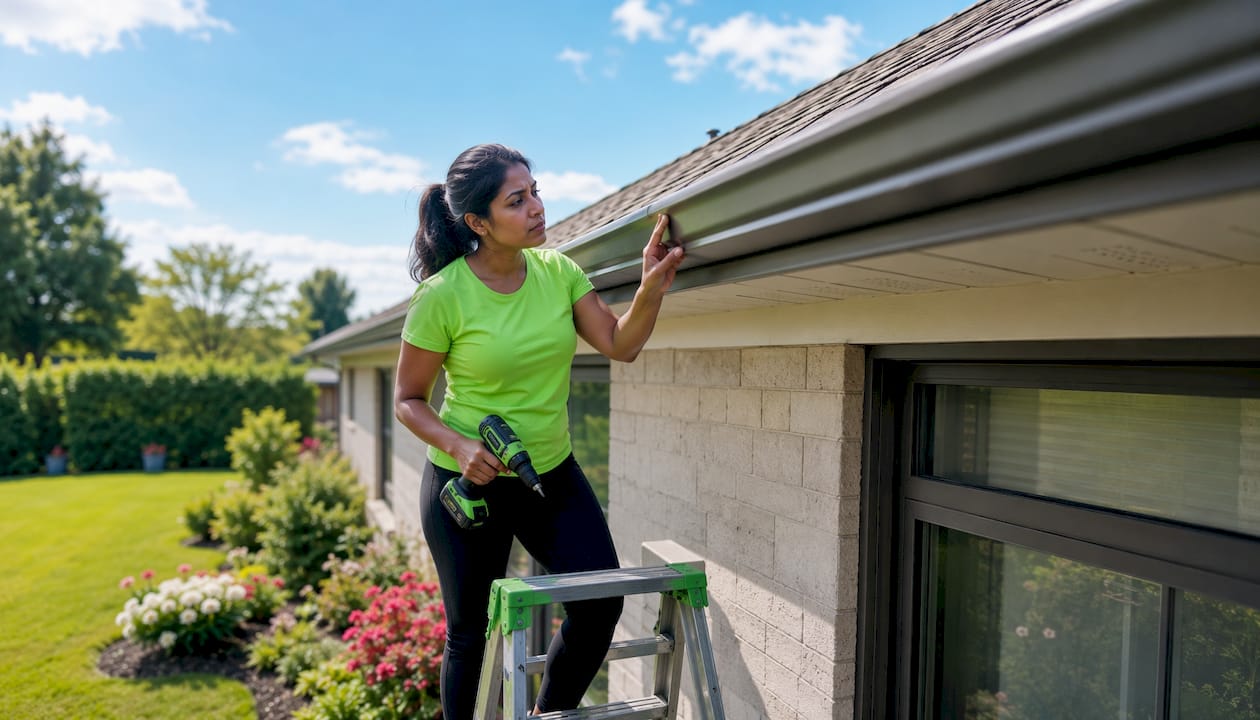
Inspect your roof, gutters, and downspouts at least twice a year. Clogged gutters are one of the most common causes of water intrusion at the foundation and around windows. Extend downspouts at least six feet from the foundation to direct water away from the structure. Grading the soil around your home so it slopes away from the foundation prevents water from pooling against basement walls.
Install a sump pump with a battery backup in any basement or crawl space prone to water accumulation. A sump pump that loses power during a storm is useless at the moment it is needed most. Water detection alarms placed near water heaters, washing machines, and under sinks give you early warning before a slow leak becomes a flood. For deeper insight into building methods that reduce long-term water damage risk, resilient home construction approaches offer practical upgrades worth considering during any restoration project.
Seal basement walls with hydraulic cement or waterproof masonry coating, and replace aging supply lines with braided stainless steel versions rated for longer service life. Maintain your water heater, dishwasher, and washing machine connections annually. Most appliance-related floods are preventable with routine inspection.
How much does water damage restoration cost?
Restoration costs vary widely based on damage category, affected square footage, and the materials involved. Minor Category 1 damage limited to a small area, such as a bathroom leak caught within hours, may cost a few hundred dollars in materials and labor. Extensive flooding that saturates multiple rooms, compromises structural framing, or involves Category 3 contamination can reach tens of thousands of dollars.
The largest cost drivers are water extraction, industrial drying equipment rental or service fees, mold remediation, and structural reconstruction. Replacing drywall, insulation, flooring, and cabinetry adds up quickly, particularly in finished basements or kitchens. Labor rates vary by region, and licensed contractors in high-cost-of-living areas will charge more per hour than those in rural markets.
Homeowner’s insurance typically covers sudden and accidental water damage, such as a burst pipe, but excludes gradual leaks and most flood events. Flood damage from storms or rising water requires a separate flood insurance policy through the National Flood Insurance Program (NFIP). Document all damage thoroughly with photos and a written inventory before any cleanup begins, and file your claim as quickly as possible. If your damage qualifies for a federal disaster declaration, FEMA assistance programs may also be available. For practical guidance on budgeting your specific project, the damage restoration guide from Djcustomcontracting covers cost planning in detail.
What tools and equipment do you need for DIY water damage restoration?
Minor Category 1 water damage on non-porous surfaces is manageable with the right equipment. Attempting restoration without proper tools leads to incomplete drying and the mold problems that follow.
Core equipment for DIY restoration:
Wet/dry vacuum: Removes standing water from hard floors and low-pile carpet. Consumer-grade units handle small volumes; larger floods need a pump.
Submersible pump: Required for basement flooding with more than a few inches of standing water.
Dehumidifier: A consumer dehumidifier rated for the square footage of the affected space. Run it continuously until moisture readings normalize.
Box fans or air movers: Position at open doors and windows to exhaust humid air outward. Do not use fans if mold is already visible, as this spreads spores.
Moisture meter: A pin-type or pinless moisture meter lets you verify dryness in walls and floors before closing them up. Models from brands like General Tools or Calculated Industries are widely available at hardware stores.
Personal protective equipment: N95 masks, waterproof gloves, and rubber boots for all cleanup work involving floodwater.
Cleaning supplies: Mop, bucket, scrub brushes, unscented bleach, and dish soap for surface cleaning and disinfection.
Utility knife and pry bar: For cutting out damaged drywall sections and removing flooring.
For larger damage areas or any Category 2 or 3 contamination, professional-grade air movers and commercial dehumidifiers deliver drying capacity that consumer equipment cannot match.
Step-by-step guide for restoring minor water damage
Minor water damage, a small pipe leak, an appliance overflow, or a contained roof drip caught quickly, is often manageable without a full professional restoration crew. The key is acting fast and following the correct sequence.
1. Stop the source and secure the area. Shut off the water supply, turn off electricity to affected circuits, and confirm the area is safe to enter.
2. Remove standing water. Use a wet vacuum or mop to extract all visible water. Work from the perimeter of the wet area inward to avoid spreading contamination.
3. Pull up wet floor coverings. Remove carpet, rugs, and any impervious flooring over the wet subfloor. These must dry separately or be discarded if saturated.
4. Set up drying equipment. Place a dehumidifier in the center of the affected room and position fans to exhaust air through open windows or doors. Check and empty the dehumidifier reservoir every few hours.
5. Open wall cavities if needed. If water has entered wall cavities, cut a small inspection hole near the baseboard to check for moisture and allow airflow. Remove wet insulation immediately.
6. Monitor with a moisture meter. Check readings in walls, subfloors, and framing daily. Target moisture content should return to the normal range for the material, typically below 16% for wood framing.
7. Clean and disinfect all affected surfaces. Wash with soap and water, then apply the bleach solution described earlier. Allow surfaces to air dry completely before any reconstruction.
8. Replace damaged materials. Install new drywall, insulation, and flooring only after moisture readings confirm complete drying. Use moisture-resistant materials where appropriate.
9. Inspect for mold before closing up. Any visible mold growth, even small patches, should be addressed with proper remediation before new materials go in. For guidance on when repair crosses into renovation territory, the alterations vs. renovations resource from Djcustomcontracting clarifies the distinction.
Ready to restore your home with professional support?

Water damage moves fast, and so does the damage it causes. Djcustomcontracting has provided full-service damage restoration and residential renovation across the region since 2018, handling projects from minor leak repairs to complete structural reconstruction. Whether you need emergency water extraction, mold remediation, or a full rebuild, the team at Djcustomcontracting brings licensed expertise and competitive rates to every job. No project is too large or too small.
Contact Djcustomcontracting today through the commercial renovation services page, or explore the full range of contractor services available for residential and commercial restoration projects.
Key Takeaways
Stopping the water source, verifying complete drying with a moisture meter, and following the IICRC S500 category and class framework are the three actions that most directly determine the outcome of any water damage restoration project.
Point | Details |
Act within the first hour | Stop the water source, cut power to affected areas, and begin water extraction immediately to limit structural damage. |
Mold risk starts at 24–48 hours | Mold can grow rapidly within a short time frame after water intrusion, making same-day drying the most effective mold prevention measure. |
Match response to water category | Category 1 damage on non-porous surfaces may allow careful DIY cleanup; Category 2 and 3 contamination requires professional remediation. |
Verify drying before reconstruction | Failure to confirm complete drying with a moisture meter is the leading cause of secondary mold and premature material failure. |
Document everything for insurance | Photograph all damage before cleanup begins; most policies require timely reporting and a written inventory for claims processing. |
Recommended


Comments