
How to Add Home Extensions: A Homeowner's Guide
- DJ Custom Contracting

- May 29
- 9 min read
Adding more space to your home sounds straightforward until you realize how many moving parts are involved. Learning how to add home extensions means understanding design options, managing budgets, navigating legal requirements, and coordinating construction phases without losing your mind or your savings. Most homeowners underestimate at least one of these areas, and that’s where projects stall, go over budget, or create neighbor disputes that linger for years. This guide covers every stage in plain language so you can move forward with confidence and a clear plan.
Table of Contents
Key takeaways
Point | Details |
Design early, decide once | Choose your extension type and location before hiring contractors to avoid costly mid-build changes. |
Budget with a contingency | Always reserve an extra 10 to 15 percent of your total budget for unexpected foundation or drainage surprises. |
Understand your legal rights | Many modest extensions qualify under Permitted Development rights, but Building Regulations compliance is always required. |
Get written confirmation | Never break ground without written approval or confirmation to avoid enforcement action and legal disputes. |
Choose contractors carefully | Verify qualifications, check references, and establish a clear scope before signing any contract. |
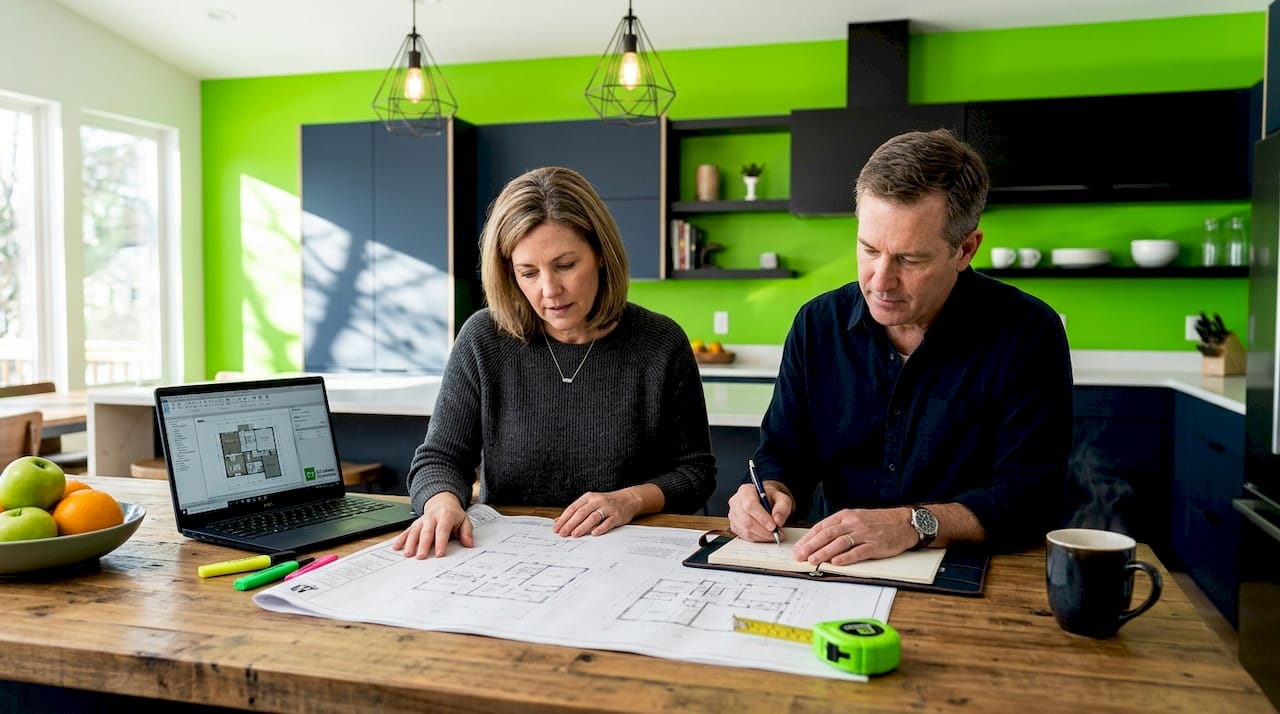
How to add home extensions: design and planning
Before any permits are pulled or contractors hired, design decisions need to be made. The type of extension you choose depends heavily on your property type, your lifestyle needs, and what your lot physically allows.
The most popular home extension ideas include:
Single-storey rear extension: Ideal for kitchens and open-plan living spaces. Works for most property types.
Side return extension: Common in terraced and semi-detached homes where unused alley space beside the kitchen gets absorbed into the floor plan.
Double-storey extension: Adds living space below and a bedroom or bathroom above. More cost-effective per square foot than single-storey.
Loft conversion: Transforms unused attic space into a functional room without touching the garden footprint.
Garage conversion: One of the most affordable ways to gain interior square footage, especially when the garage is already attached.
Your property type matters more than most people realize. A detached home gives you more flexibility on all four sides. A terraced house limits you to rear or loft options in most cases. A semi-detached sits somewhere in between, with side returns possible but subject to neighbor proximity constraints.
Engaging a qualified architect early helps you identify the most practical extension location while accounting for daylight impact, structural feasibility, and neighbor considerations before you invest in detailed drawings. An architect’s preliminary consultation typically costs a few hundred dollars but can save thousands by eliminating poor design choices before they get built.
Pro Tip: Lock in your design brief before technical drawings begin. Every change you request after drawings are complete adds time and fees. Decide on room function, window positions, and connection points to the existing structure before the architect starts drafting.
Budgeting and cost planning
One of the most common reasons home extension projects fail is underestimating the full cost of home extensions from start to finish. The build cost is just one line item.
Here is how to plan your budget realistically:
Establish a base build cost. Extension costs vary widely based on size, specification, and location. Project costs can range from modest figures for a straightforward single-storey build to well over $150,000 for complex multi-level or high-specification projects.
Add professional fees. Architect fees typically run 8 to 15 percent of the build cost. Structural engineer fees, building control applications, and party wall surveyor fees all stack on top.
Account for groundwork. Foundations are often where surprises hide. Soil conditions, drainage runs, and existing utilities can add significant cost if they require diversion or reinforcement.
Include fit-out costs. Flooring, lighting, heating connections, and decoration are rarely included in a contractor’s base quote. Price these separately and add them to your total.
Build in a contingency. A budget contingency of 10 to 15 percent of your total build cost is the standard recommendation for absorbing drainage surprises, material price changes, or unforeseen structural issues.
For smart renovation budget planning, the discipline is separating “want” from “need” early. Heated floors and bi-fold doors are appealing but easy to defer. Solid foundations and compliant electrics are not.
Pro Tip: Get at least three itemized quotes from contractors before committing. A quote that looks 20 percent cheaper often omits groundwork, waste removal, or building control fees. Compare line by line, not total by total.
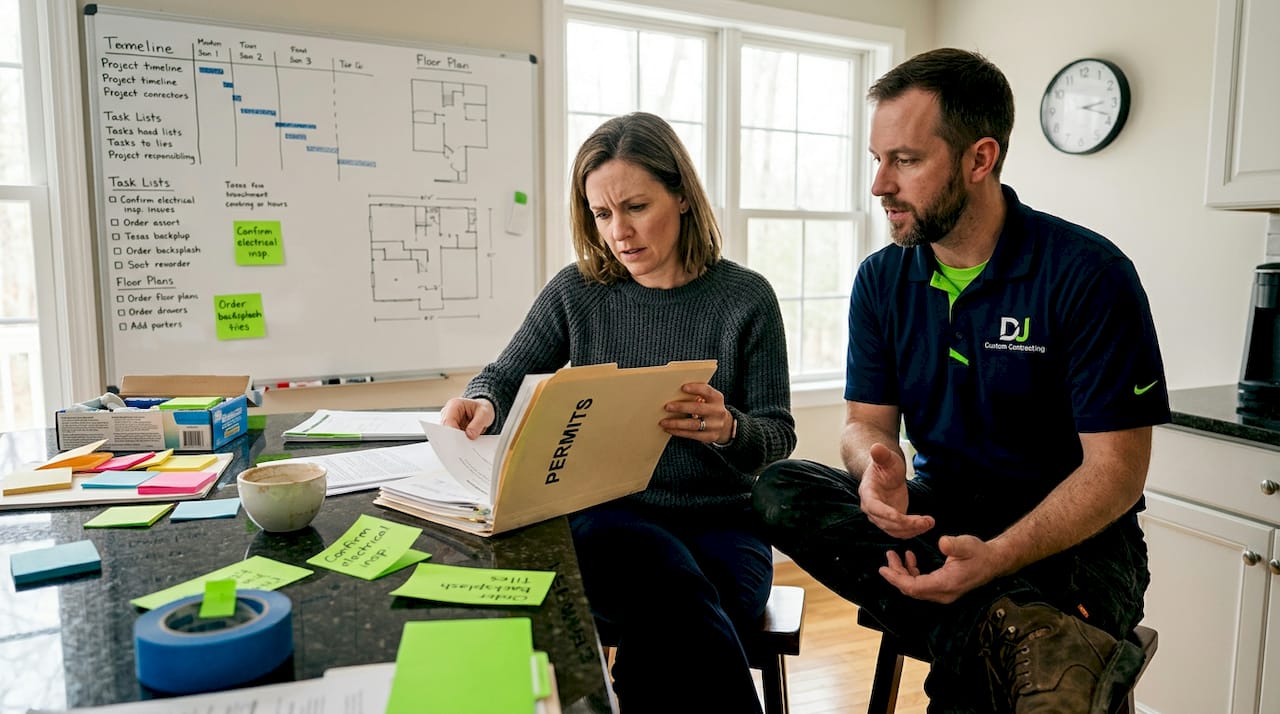
Navigating legal requirements for home extensions
This is the section most homeowners skim and later regret. Understanding what permits for home extensions apply to your project is non-negotiable. Getting this wrong can mean demolishing work you paid for.
Planning permission vs. building regulations
Planning permission and Building Regulations are separate approvals with different purposes. Planning permission controls whether and where you can build. Building Regulations control how the structure must be built for safety, structural integrity, fire safety, and energy performance. You can sometimes skip the first and never skip the second.
Permitted Development rights
Many modest extensions qualify under Permitted Development (PD) rights, which means no full planning application is required. However, PD rights come with strict conditions. Legal PD rights apply only when every condition is strictly met. Breaching even one condition invalidates PD status and requires full planning permission after the fact.
Single-storey rear extensions often fall within PD limits. Standard PD limits allow up to 3 meters for attached homes and 4 meters for detached homes from the original rear wall. Larger extensions up to 6 or 8 meters are possible through a prior approval process that includes a 21-day neighbor consultation period and a council decision within 42 days.
Key legal checkpoints every homeowner should confirm before starting:
Written confirmation of PD eligibility or full planning permission approval
Building Regulations application submitted and approved or notice given
Party Wall Act compliance checked for any work near shared boundaries
All neighbor notifications sent and documented
Party Wall Act considerations
Works near a shared boundary may require a Party Wall agreement if you are building on or near the boundary line or excavating within 3 to 6 meters of a neighbor’s structure. The position of your new wall relative to the party wall line directly affects whether formal procedures are triggered. A Party Wall surveyor can clarify this before you commit to a design.
For detailed guidance on building additions and prior approvals, it pays to work with contractors who already understand local compliance frameworks.
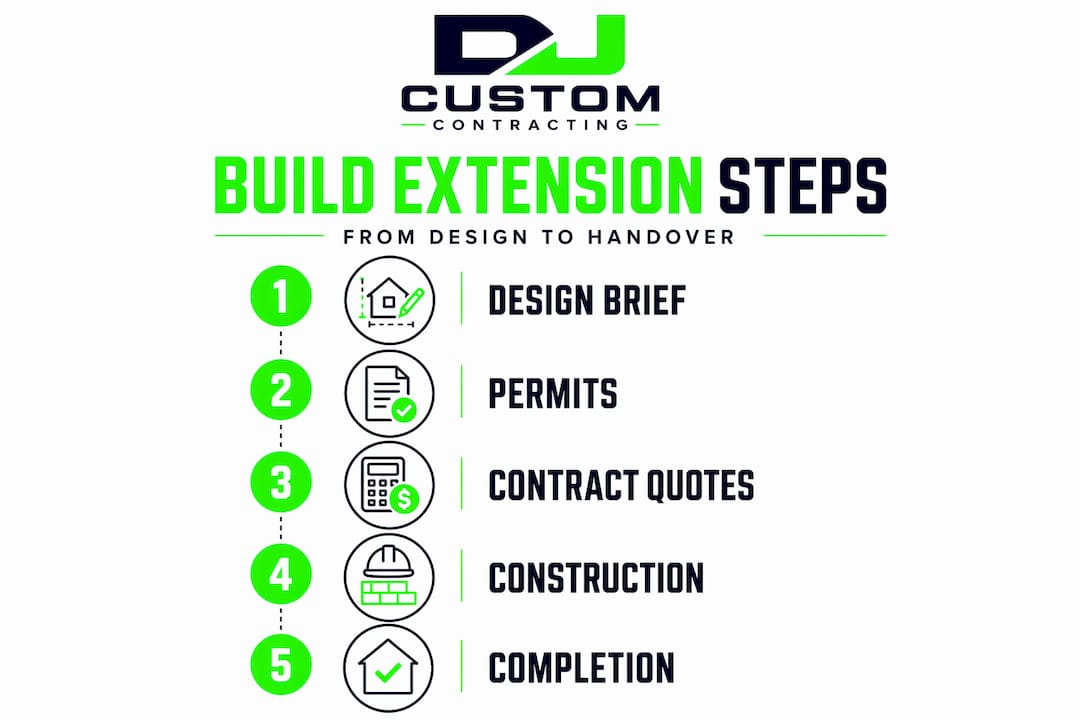
The construction process from start to finish
Once approvals are in place, construction follows a logical sequence. Knowing the stages helps you track progress, ask the right questions, and catch problems early.
Construction phase | What happens | Typical duration |
Pre-construction | Surveys, technical drawings, contractor selection | 4 to 8 weeks |
Groundwork and foundations | Excavation, drainage diversion, concrete pours | 2 to 4 weeks |
Structure | Walls, roof frame, windows, weatherproofing | 4 to 8 weeks |
Services | Electrical, plumbing, HVAC rough-in | 2 to 4 weeks |
Interior finishes | Insulation, plastering, flooring, decoration | 3 to 6 weeks |
Final inspection and sign-off | Building Control visit and certificate issuance | 1 to 2 weeks |
Methodical early planning that includes a clear brief, accurate drawings, and a fixed scope significantly reduces the risk of delays and cost overruns once work begins.
Here is how the process flows in practice:
Commission technical drawings from your architect based on the approved design brief.
Submit for Building Regulations approval or serve a Building Notice to your local authority.
Get contractor quotes and select your main contractor and specialist trades.
Carry out pre-start checks including a structural engineer’s sign-off on foundation design.
Begin groundwork and schedule the first Building Control inspection at foundation stage.
Build the structure with regular progress checks and interim inspections at framing and roof stages.
Complete services rough-in before boarding and plastering.
Finish interiors and carry out a final Building Control inspection to obtain your completion certificate.
Pro Tip: Keep a project log from day one. Document every instruction you give to contractors, every inspection result, and every change to the original scope in writing. If disputes arise later, this record protects you.
The step-by-step workflow for residential additions follows the same logical progression whether you are building a rear extension or a full second story.
Common mistakes and how to avoid them
Even well-prepared homeowners run into problems. Most mistakes fall into predictable categories, and knowing them in advance is half the battle.
Starting without written approval. Starting construction without written confirmation of PD eligibility or planning permission puts you at risk of enforcement action, stop-notices, or being required to demolish completed work.
Skipping the Party Wall notice. Failing to serve Party Wall notices before excavating or building on a shared boundary can trigger legal disputes and court injunctions that freeze your project entirely.
Underestimating the timeline. Typical timelines from idea to construction start run 5 to 9 months. Treating this as a 6-week process is one of the most reliable ways to end up stressed and behind schedule.
Making design changes mid-build. Every scope change once construction is underway generates delay, additional drawings, and premium contractor fees. Decide everything before work starts.
Choosing a contractor on price alone. The lowest quote is rarely the best value. Verify licenses, insurance, and references before signing anything.
Neglecting neighbor relations. Beyond legal obligations, keeping neighbors informed and maintaining goodwill prevents informal complaints that can slow or halt your project.
My take on what actually makes a project succeed
I’ve seen homeowners walk into extensions with great enthusiasm and a vague idea of what they want, and I’ve watched that enthusiasm turn into stress when reality hits around week six of construction. The truth is that the quality of the finished extension is almost entirely determined by decisions made before a single shovel touches the ground.
In my experience, the homeowners who come out the other side with a project they love are the ones who invested real time in the planning phase. They hired their architect before they got attached to a specific design. They got written confirmation on their PD rights before telling their contractor to start. They read the Party Wall Act notices instead of treating them as paperwork.
What I’ve learned is that patience in the pre-construction phase is not a luxury. It is what separates a smooth build from a chaotic one. The legal and logistical groundwork you lay in months one through four directly determines how clean and efficient the physical construction is in months five through eight.
One thing most articles skip over: your relationship with your neighbors is as important as your relationship with your contractor. I’ve seen technically perfect extensions create lasting neighborhood conflict because the homeowner treated the legal notice as a box to check rather than an actual conversation to have. That conflict has a way of finding its way back into your project as complaints, delays, and stress.
Build the right way. Get the paperwork done. Talk to your neighbors like adults. Everything else follows.
— DJ
Ready to plan your home extension?
Djcustomcontracting has been helping homeowners bring their space plans to life since 2018. From initial design consultations through permits, construction, and final inspection, the team handles every phase with the experience and licensing your project demands.

Whether you need an interior renovation contractor to transform your new extension space or a specialist for exterior additions and alterations, Djcustomcontracting delivers compliant, quality work across residential projects of all sizes. Contact the team today to discuss your extension plans and get a detailed, itemized quote tailored to your property.
FAQ
Do I always need planning permission for a home extension?
Not always. Many modest extensions qualify under Permitted Development rights and do not require a full planning application, but you must still comply with Building Regulations regardless of planning status.
How much does a home extension typically cost?
Costs vary widely depending on size, specification, and location. Projects can range from tens of thousands to well over $150,000, and you should always budget an additional 10 to 15 percent as a contingency for unexpected issues.
What is the Party Wall Act and when does it apply?
The Party Wall Act applies when your extension involves work on or near a shared boundary or within a specified distance of a neighbor’s structure. You may be required to serve formal notice and obtain a Party Wall agreement before work begins.
How long does it take to build a home extension?
From initial idea to construction start typically takes 5 to 9 months when accounting for design, approvals, and contractor procurement. The physical build adds several more months depending on size and complexity.
Can I lose my Permitted Development rights?
Yes. PD rights apply only when every specific condition is met. Breaching a single condition, such as exceeding height or size limits, invalidates PD status and requires full planning permission, which you may need to apply for retrospectively.
Recommended
Comments