


Hardwood Installation: When Homeowners Can DIY and When to Call a Pro

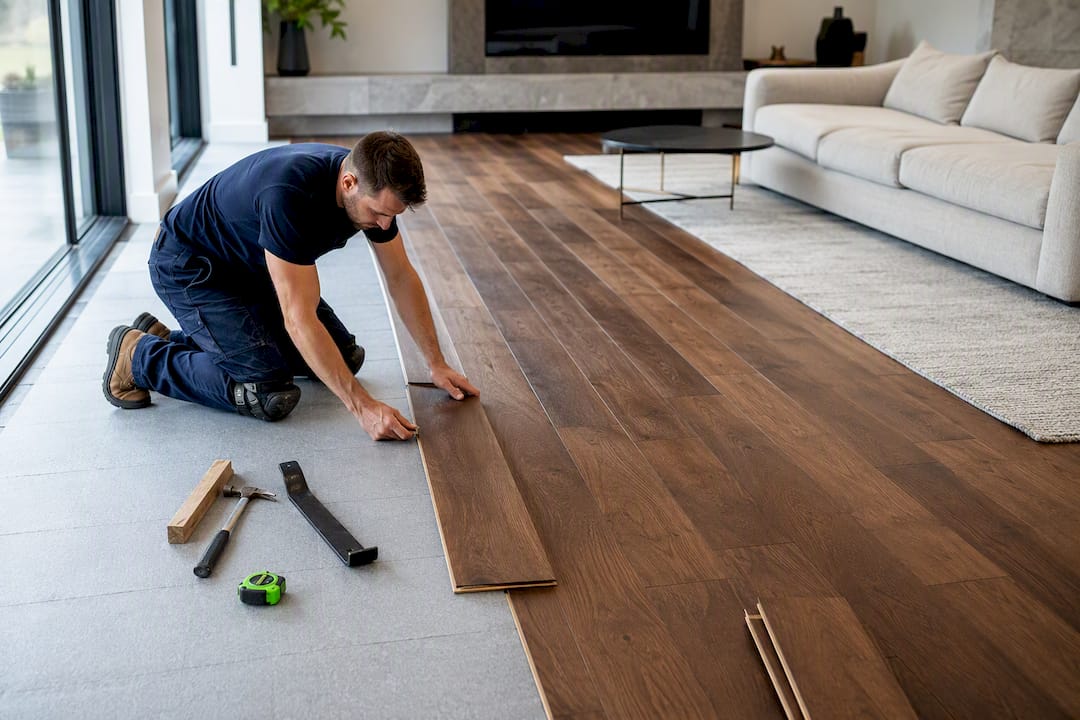
Yes, most homeowners can handle hardwood installation, and a floating (click-lock) system is the most forgiving place to start. It skips most specialty tools and stays reversible if you make a mistake. The catch is preparation: a flat, dry subfloor and properly acclimated flooring make or break the result. Skip a moisture test or rush acclimation, and even a perfect installation can fail within a year. Complex substrates, radiant heat, or permit-heavy jobs call for a licensed contractor.
TL;DR:
Proper subfloor preparation, including moisture testing and ensuring flatness within 3/16 inch over 10 feet, is essential to prevent future problems.
The most beginner-friendly method is floating installation, which is suitable over concrete slabs and engineered hardwood, and remains reversible if needed.
Acclimate flooring for at least three days at stable temperatures and humidity levels, and test moisture content regularly to avoid shifts or gaps after installation.
Use the correct tools: a pneumatic nailer for nail-down, specific adhesives for glue-down, and minimal tools for floating systems; avoid rushing or skipping steps.
Projects involving radiant heat, structural repairs, or permits should be handled by licensed contractors to ensure safety, code compliance, and long-term durability.
Table of Contents
Nail-Down vs. Glue-Down vs. Floating: Which Method Fits Your Room?
Each installation method suits a different subfloor and skill level, and picking the wrong one is the most common reason DIY projects stall halfway through.
Nail-down installation is the traditional approach for solid hardwood over a plywood subfloor. It’s permanent, durable, and matches what most people picture when they think of hardwood floors, but it demands a pneumatic flooring nailer and more physical effort.
Glue-down installation works best over concrete slabs or with engineered hardwood boards. It requires careful trowel work and a strong back, since adhesive doesn’t forgive a change of heart.
Floating installation clicks or clips together without nails or adhesive, sits over nearly any flat substrate, and comes closest to a beginner-friendly build. It’s also concrete-compatible when you add the right moisture barrier, which is why it’s become the go-to for first-time installers.
Floating: Best for first-timers, concrete slabs, or engineered boards; fully reversible.
Nail-down: Best for solid hardwood over 3/4-inch plywood; most traditional look and feel.
Glue-down: Best for concrete subfloors or engineered planks that need extra stability.
If you’re still deciding, a dedicated comparison of floating vs. nail-down installation walks through the tradeoffs in more detail.
What Does a DIY Hardwood Project Actually Cost and Take?
Start with the math. Measure your room’s square footage, then order at least 10% extra to cover waste from cuts, defects, and future repairs. Once the material arrives, it needs to acclimate on-site before you touch a single plank.
Budget realistically for both time and money:
Material costs run from budget-grade engineered products to premium solid hardwood, with DIY installation saving you the labor portion that a professional install would otherwise charge.
Tool rental for nail-down jobs typically includes a pneumatic flooring nailer and compressor; floating installs need little beyond a tapping block, pull bar, and a basic saw.
Timeline matters more than people expect. A two-person team can floor about 500 square feet in a long weekend using a floating system, not counting acclimation days. Nail-down jobs take longer and carry a steeper tool learning curve.
Pro Tip: Run your HVAC system at normal living conditions for several days before delivery. Flooring that acclimates in a cold, unconditioned garage will still shift once it reaches your living room’s real temperature and humidity.
Before install day, clear the room completely, keep the HVAC running, and control dust with a shop vacuum and plastic sheeting over doorways. Safety gear matters here too: knee pads, safety glasses for the nailer or saw, and hearing protection if you’re running a compressor for a full day.
How Long Should Hardwood Acclimate Before Installation?
Give your flooring a minimum of 72 hours to acclimate, though 3 to 7 days is common depending on the product and your regional climate. Wider planks and solid hardwood generally need the longer end of that range.
Set the room to living conditions first. Run the HVAC at 60 to 80 degrees Fahrenheit and 30% to 50% relative humidity, and keep it there through the entire acclimation period.
Test moisture in the wood and subfloor. Use a pin or pinless moisture meter on both, and compare the readings. A gap of more than 2% to 4% between wood and subfloor moisture content signals trouble ahead.
Test concrete slabs separately. Calcium chloride tests or in-situ relative humidity probes tell you whether a slab is dry enough for glue-down or floating installation; both need time to run correctly, so schedule them early.
Decide on a vapor barrier. Concrete subfloors almost always need one. Nail-down over plywood usually doesn’t, while floating and glue-down systems over concrete typically do.
Pro Tip: Don’t just check moisture once. Test again right before installation day, especially if there’s been rain, a plumbing issue, or a seasonal humidity swing since your first reading.
Is Your Subfloor Flat Enough for Hardwood?
Flatness is where most DIY installations quietly go wrong. Industry guidance from the National Wood Flooring Association sets the acceptance tolerance at no more than 3/16 inch of variation over 10 feet, tightening to 1/8 inch over 6 feet in some manufacturer specs. Check this yourself with a long straightedge or a laser level before you order a single fastener.
Subfloor Issue | Typical Fix |
High spots | Sand or grind down to meet tolerance |
Low spots | Fill with leveling compound |
Squeaks | Screw down through subfloor into joists |
Thin or damaged plywood | Add a plywood overlay (minimum 3/4 inch for nail-down) |
Concrete moisture concerns | Test first, then choose glue-down engineered, floating over a vapor barrier, or plywood sleepers |
Concrete slabs need their own checklist. Moisture testing comes first, followed by an assessment of the surface profile for adhesive bonding. If the numbers come back high, floating over a proper vapor barrier is often the safer route than gluing directly to the slab. Basement installations raise the stakes further, since below-grade moisture behaves differently than a ground-floor slab; a closer look at basement remodeling and subfloor prep is worth a read if that’s your project.
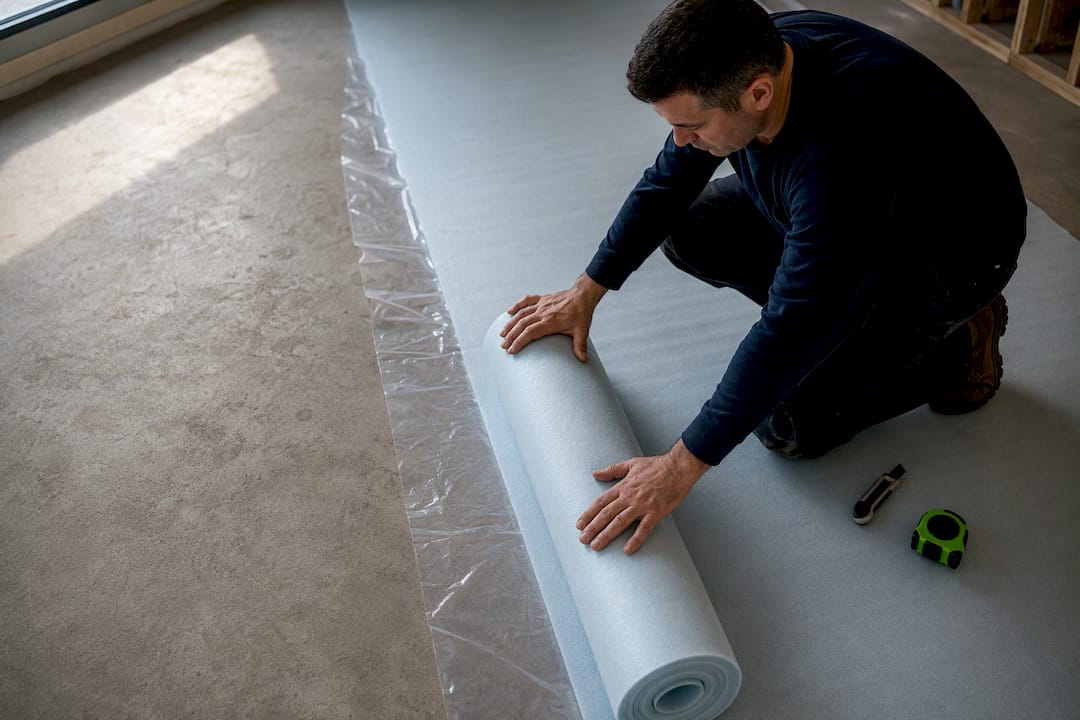
For underlayment, felt or rosin paper suits traditional nail-down jobs, foam underlayment pairs with most floating systems, and a dedicated vapor barrier belongs under any installation over concrete, regardless of method.
What’s the Correct Step-by-Step Installation Sequence?
Walls are rarely square, so measure and snap a chalk line to establish your true working line instead of trusting the wall itself. This single step prevents the slow drift that ruins a floor’s appearance by the last row.
Measure out from your starting wall at both ends of the room and snap a chalk line between the points.
Lay your starter row along that line, using spacers to hold a consistent expansion gap at the wall.
Work row by row across the room, checking square every few rows rather than waiting until the end to notice a problem.
Cut and fit the final row, ripping planks to width as needed, and reinstall spacers until trim goes back on.
Nail-down specifics: Face-nail the first two rows by hand, since a nailer can’t reach the wall-side tongue yet. After that, switch to blind-nailing with a pneumatic flooring nailer, always protecting the tongue-and-groove joint with a tapping block rather than striking the plank face directly. Follow the fastening schedule from manufacturer installation guides: space fasteners every 8 to 10 inches for strip flooring, tightening to every 6 to 8 inches for planks 3 inches wide or wider. Place every fastener 1.5 to 3 inches from each plank end, with a minimum of two fasteners per plank.
Floating specifics: Roll out your underlayment first, then click or tap planks together using a tapping block along the long edge and a pull bar for the final board against the wall. Stagger end joints at least 6 inches between rows for a natural look and better structural performance.
Glue-down specifics: Choose the adhesive your manufacturer specifies, since not every urethane works with every wood species. Spread it with the trowel notch size listed on the product, and watch the adhesive’s open time closely. Working too slowly means setting boards into skinned-over glue that won’t bond correctly. Keep a damp rag nearby for immediate cleanup along seams.
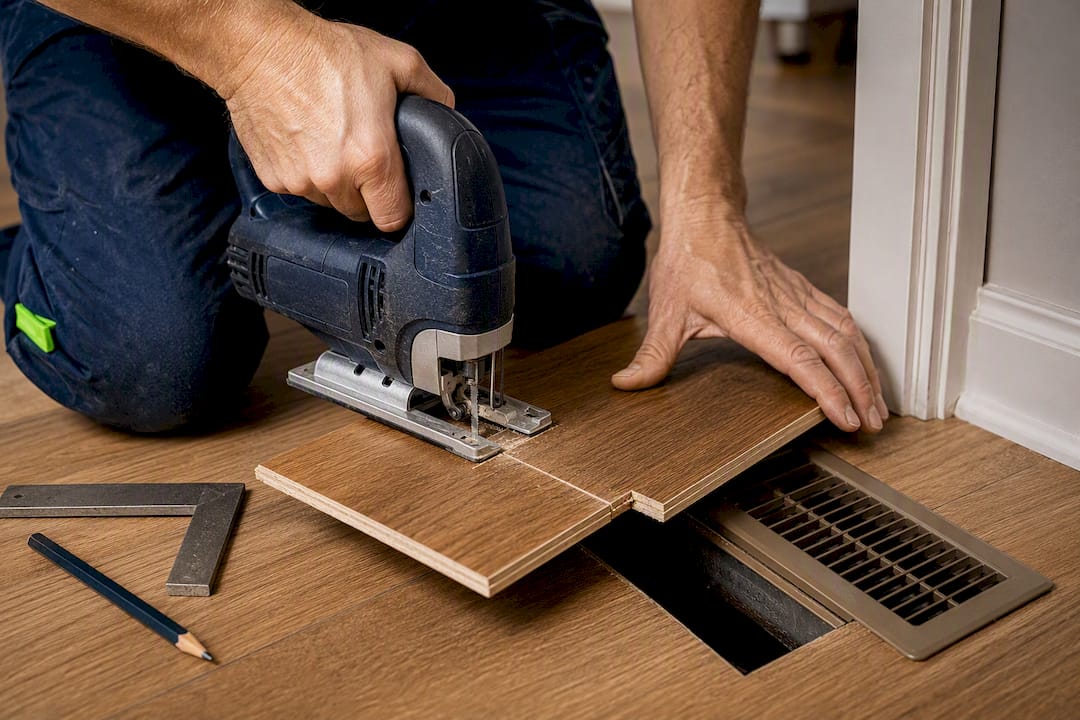
Around obstacles like vents, doorframes, and stair nosings, dry-fit every cut before committing. A jigsaw handles curves and notches better than a circular saw for this kind of detail work.
How Do You Finish the Job Around Trim and Transitions?
Trim work is where a good installation either looks finished or looks obviously homemade. Baseboard and shoe molding get nailed into the wall, never into the flooring itself, since the floor needs to expand and contract independently. Quarter round follows the same rule: nailing it to the boards locks the floor down and can cause buckling later.
Use a reducer where hardwood meets a lower flooring surface, like vinyl or tile.
Use a threshold at exterior doors or where flooring meets a different material at the same height.
Use a T-molding at doorways between two hardwood areas, especially across expansion joints.
Pro Tip: Save the exact fastener and trim pieces you used, along with the box label from your flooring. If you ever need a repair or a room addition down the line, matching the finish and profile gets much harder without that information.
Vacuum thoroughly, fill any visible nail holes with matching putty, and lay down rosin paper or cardboard before moving furniture back in. Felt pads under every leg prevent the fresh floor from scarring on day one.
Common Hardwood Problems and How to Fix Them
Most installation complaints trace back to one of a handful of root causes, and the fix usually matches the cause closely.
Squeaks: Usually a loose subfloor connection; screw down through the subfloor into the joist below the noise.
Gaps between boards: Often seasonal humidity swings; minor gaps close up on their own, but persistent gaps may point to inadequate acclimation.
Cupping or buckling: A strong sign of excess moisture; pull affected boards, run a fresh moisture test, and address the source before reinstalling.
Loose or lifting boards: For nail-down, add fasteners nearby; for floating floors, the click joint may have failed and the board may need replacing.
If buckling covers a large area, or if moisture testing keeps coming back high no matter what you try, that’s the point to call a licensed contractor rather than keep patching a symptom.
Where DIY Ends and a Licensed Contractor Should Step In
Most straightforward rooms are well within reach for a motivated homeowner, and industry data on DIY-friendly floating systems backs that up. But some jobs go beyond what a weekend project should attempt. Radiant heat systems change how flooring expands and needs manufacturer-specific installation methods. Major subfloor repair, structural leveling, or anything touching a load-bearing element belongs with a professional. Permit-heavy projects, especially in multi-unit buildings or commercial spaces, add a regulatory layer that a typical retail guide won’t cover.
DJ Custom Contracting LLC handles these harder cases as part of interior renovation work, including subfloor repair, DOB and DOT violation removal, and the permit navigation that larger flooring projects sometimes require. If you’re vetting a contractor for a project like this, ask for a copy of their license, proof of insurance, and references from a comparable job before signing anything.
*— DJ
Ready to Move Beyond DIY? Here’s Your Next Step
If your subfloor needs real repair, your project touches a permit, or you’d rather hand off the fastening schedule and moisture testing to someone who does it daily, that’s exactly where professional contractors fit. Some contractors handle the full scope: subfloor correction, code compliance, and the finished installation, all under one contract instead of piecing together separate specialists.

Our interior renovation team has handled the substrate repairs, moisture issues, and permit questions that turn a simple flooring job into a bigger headache. For multi-unit or commercial properties, our commercial renovation services cover the same ground at a larger scale. If your project checks any of the harder boxes covered above, consider reaching out to a qualified contractor for a project quote and a walkthrough of what your space actually needs before the first plank goes down.
Sources
Recommended


Comments